Trees are an investment for future generations. They provide environmental benefits in our community like purified air and clean water. In urban areas with a high concentration of concrete and tall buildings that absorb and retain heat, the cooling effect of trees helps to reduce the resulting “heat island effect.” Trees also provide us with economic benefits like reducing your heating and cooling bills, and increasing property value
Investing in trees is important and simple, but how well that investment grows depends on the type of tree planted, its location, and the care provided. Knowing how to plant trees the right way will ensure that your investment will benefit both you and your community for generations to come.
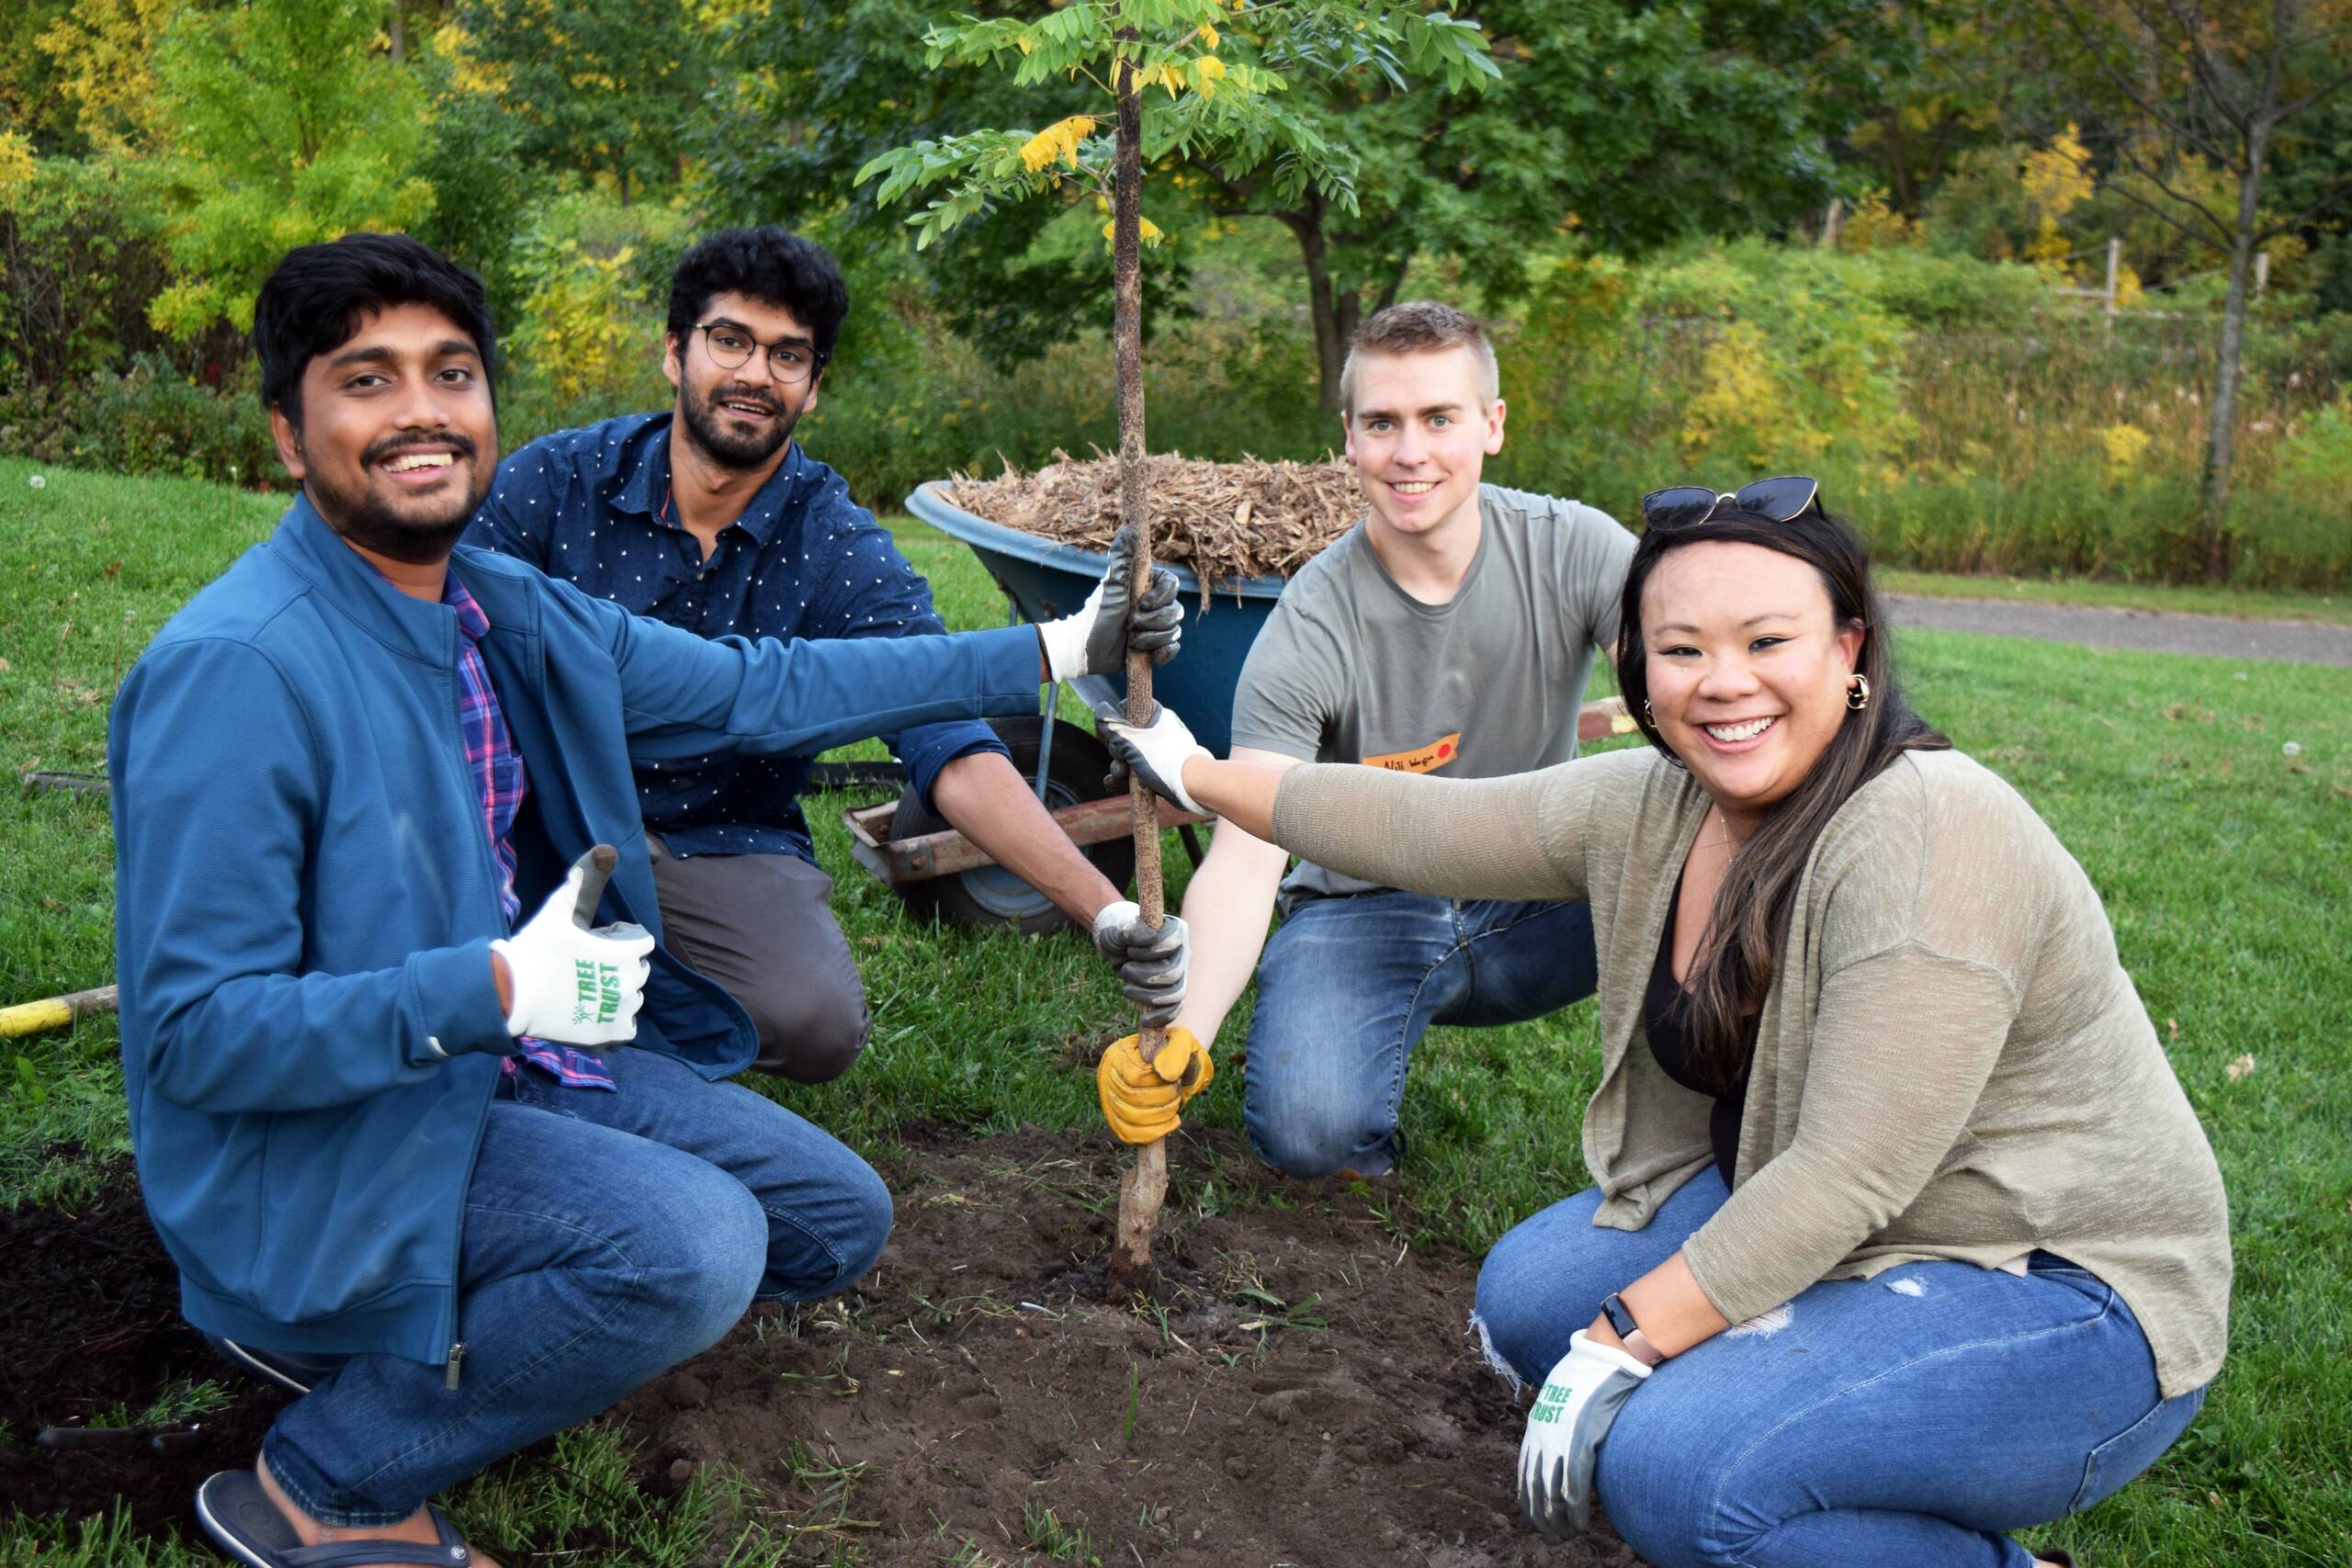
Before you begin planting, gather a few essential tools: a shovel, a rake, mulch, a hose for watering (or use buckets), gloves, a pair of pruners, and a saw. You should also have staking material on hand in case your tree needs extra support. Now you are ready to plant. Follow the eight steps below to properly plant your containerized tree.
Tree Planting How To: Eight Steps to Success
Step 1: Find a Good Spot
The first step is establishing the right location. Find a spot that has appropriate light conditions (full sun, part shade) and plenty of room for the tree to reach its mature height. Depending on the type of tree, it can grow to a height of 25 feet or more after 10 years.
Step 2: Prepare Your Tree
Make sure to remove any tags or twine. Before you start digging a hole for planting, take a look at the branch structure. If you see what’s called a double leader – two main growing stems – one of them should be pruned while you can easily access it. The other will become the main leader. You will also want to prune any branches that may have broken during transportation.
 Step 3: Cut the Root Ball

Carefully pull the container off the tree without tugging on the tree’s trunk. You may need a second person to help you with this. If the container doesn’t want to budge, you can use the pruners to cut it away. Remember, you’re trying to remove the container from the tree, not the tree from the container.
Once the container is removed, you’ll notice that the roots tend to circle around where the edge of the container was, creating stem-girdling roots. If left unmitigated, the tree will eventually strangle itself as the roots grow bigger and bigger. This is where the saw comes in.
Use the saw to cut about an inch into the root ball all the way around, creating what’s called a box cut. Essentially, you’ll be cutting the circle into a square. It may seem counterintuitive, but this will promote healthy root growth, ensure planting success, and increase the life of the tree. If you come across larger roots that are too thick to saw, use the pruners to make a clean cut.
 Step 4: Find the Root Flare

Remember when you used to draw a tree when you were a kid? Most likely you had the bottom “flare out” where the trunk meets the ground – that’s what we’re looking for in this step, the root flare. Oftentimes trees are planted too deeply in their container and the root flare is buried. Take time to dig down and remove the soil from the top of the root ball. You will know you’ve found the root flare when you see the first pencil-sized root with a good flaring of roots below. You may have to separate roots along the way.
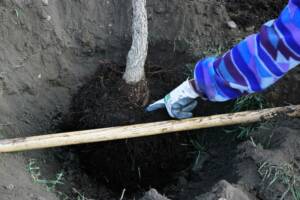
Step 5: Dig a Hole Twice as Wide as the Root Ball
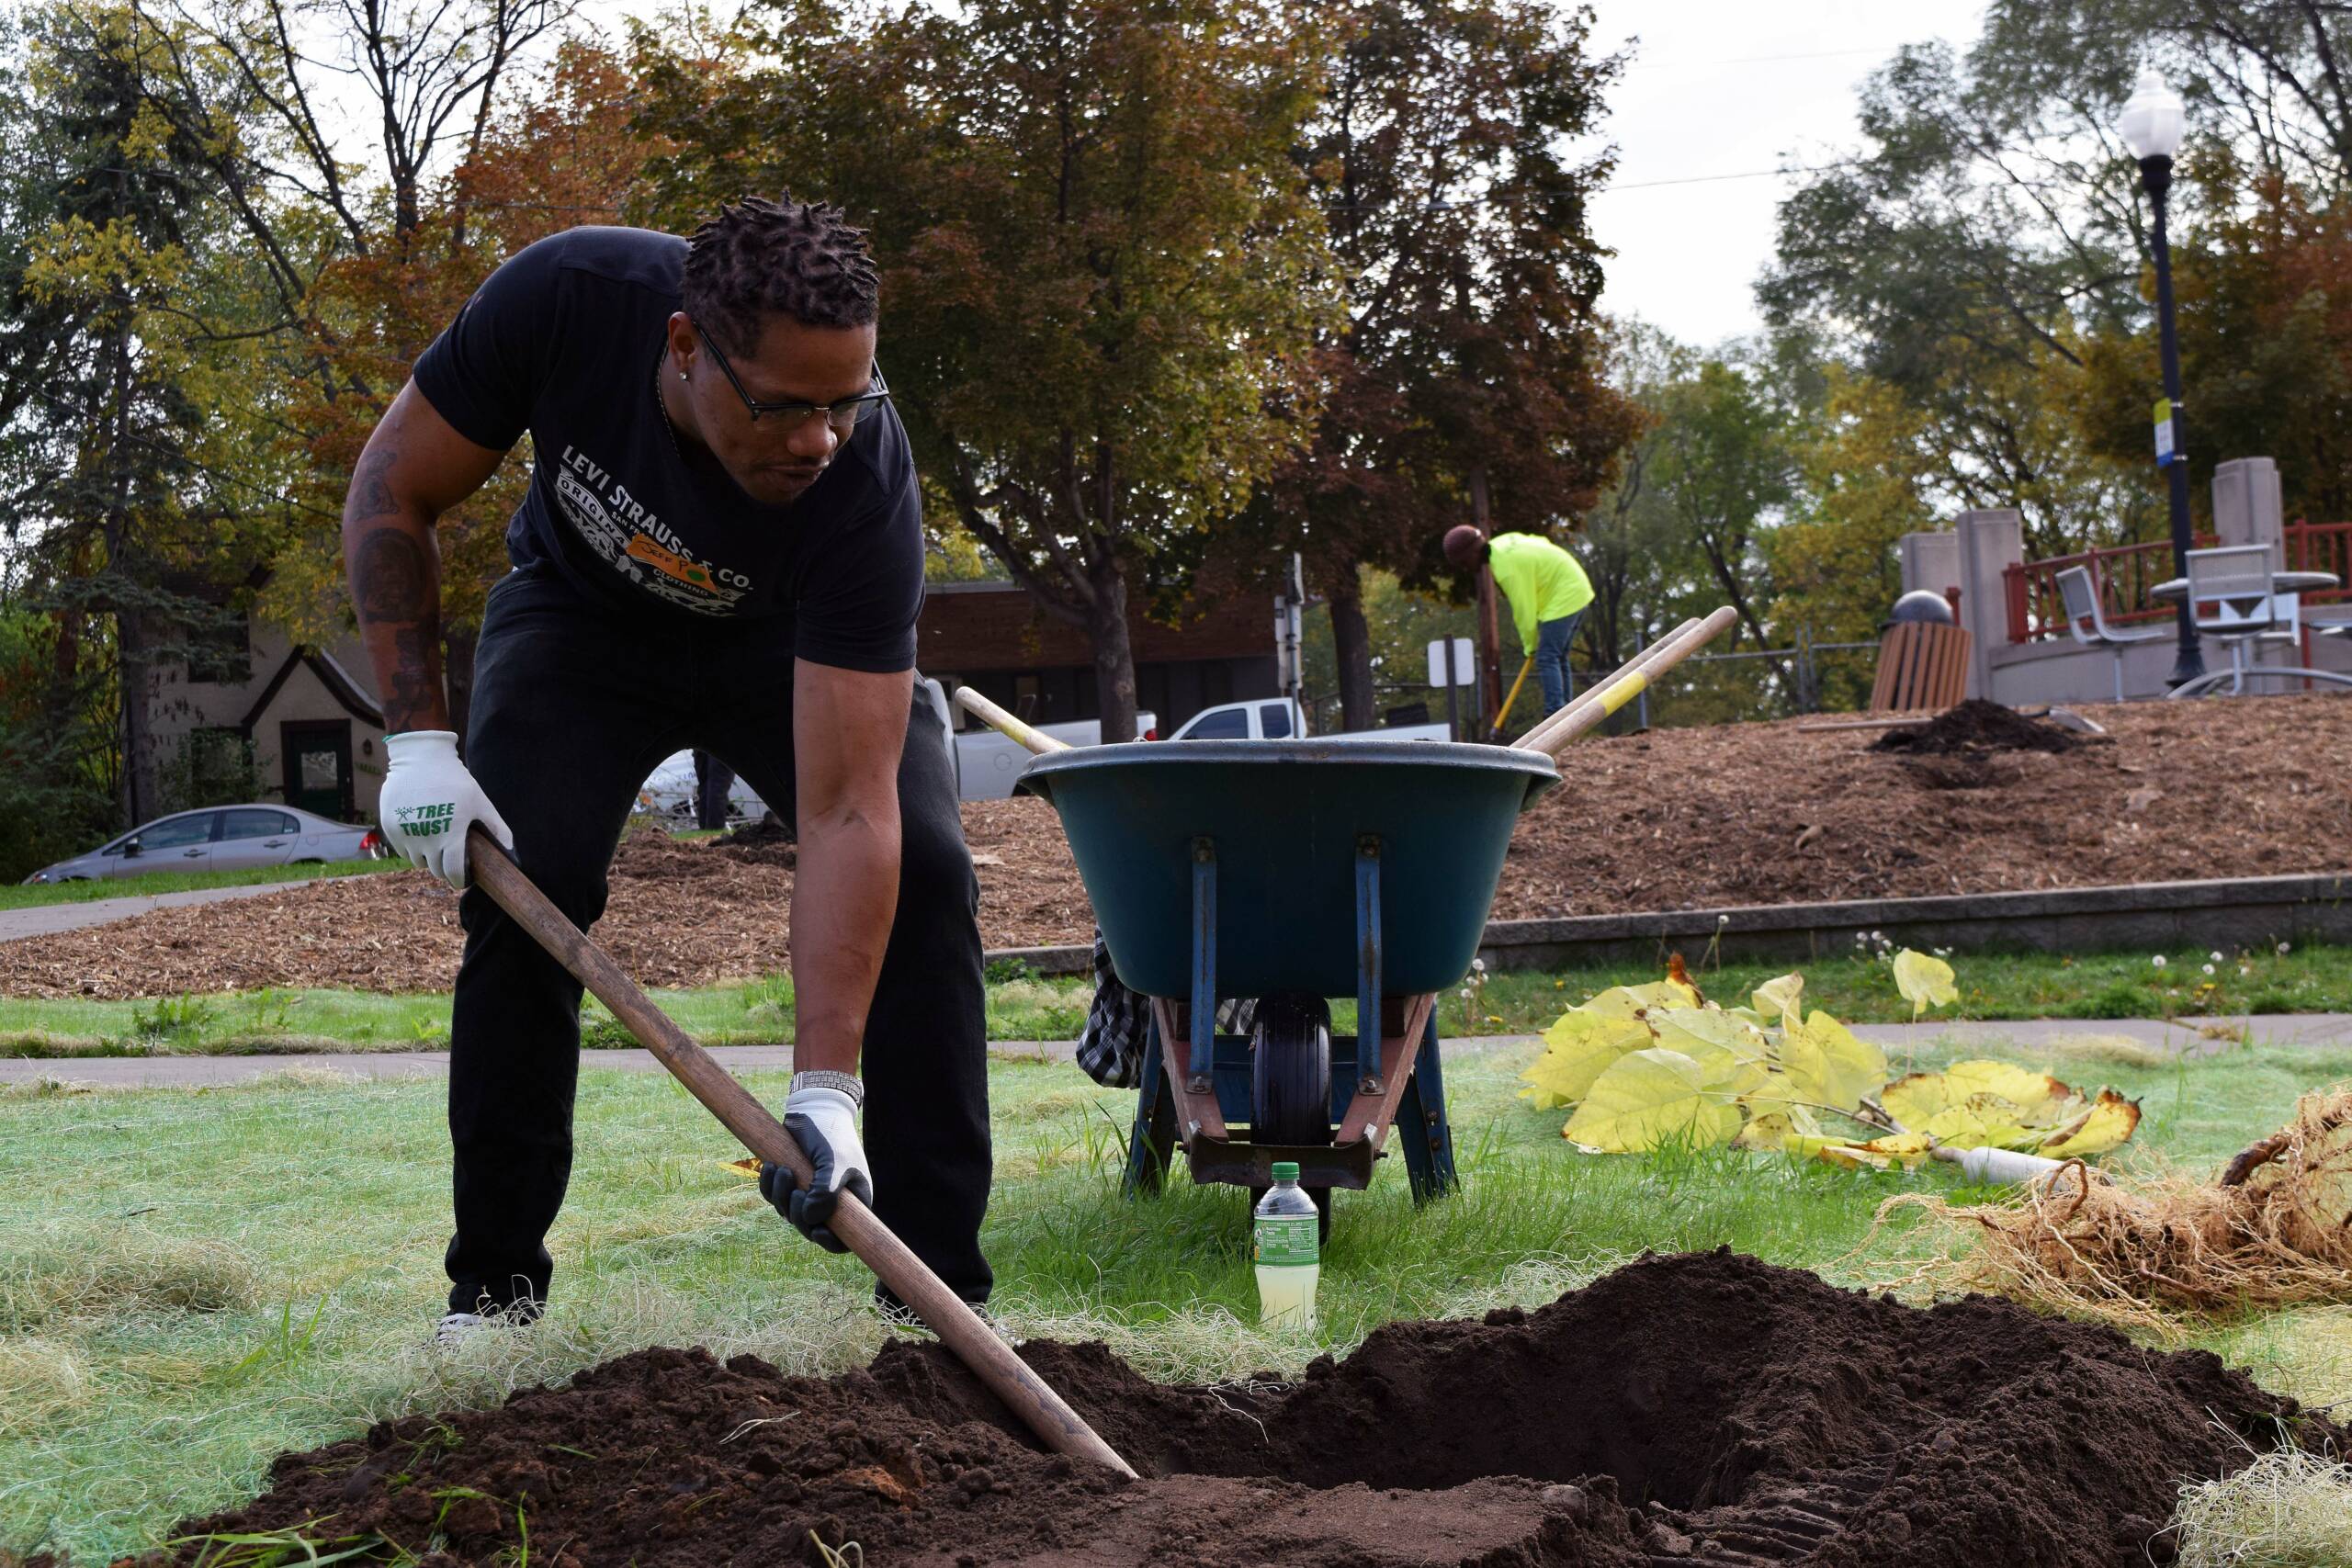
Measure from the root flare to the bottom of the root ball. That will mark the depth of your hole. It’s important to ensure you have the correct planting depth so that the root flare is level with the ground when planted, promoting healthy plant growth. Your planting hole should be two to three times wider than the root ball. Pack down the bottom of the hole so you have a flat, stable surface to support the tree.
If it takes you longer than 15 minutes to dig your hole, you will want to soak the root ball in water while you are digging to keep the newly exposed roots moist. Once you have the hole dug, carefully lift the tree by the root ball (not the trunk) and place it in the hole. A great way to measure your hole’s depth is by laying a rake or shovel handle across the hole to compare the ground level to the top of the root flare.
Step 6: Backfill Soil
When you have confirmed that the hole is the appropriate depth, it’s time to start backfilling with the original soil. No need for soil amendments here. The native soil that came out of the hole in the first place will work just fine. As you backfill soil, make sure you keep your tree straight and set aside any large rocks or clumps of sod. Throughout this process, as you add additional soil, press down on the soil surface and alternate with water to eliminate any air pockets. Keep adding soil until the exposed roots are covered. Make sure to leave the root flare unburied.
Step 7: Create a Berm From Excess Soil and Sod
Using the sod and excess soil, create a berm around the planting hole. This berm will be a great barrier to prevent water runoff. Turn any clumps of sod upside down to inhibit grass growth. Add some water before the next step.
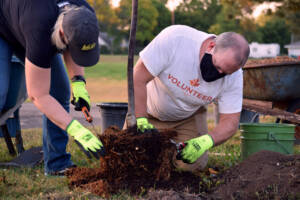
Step 8: Mulch 3-3-3
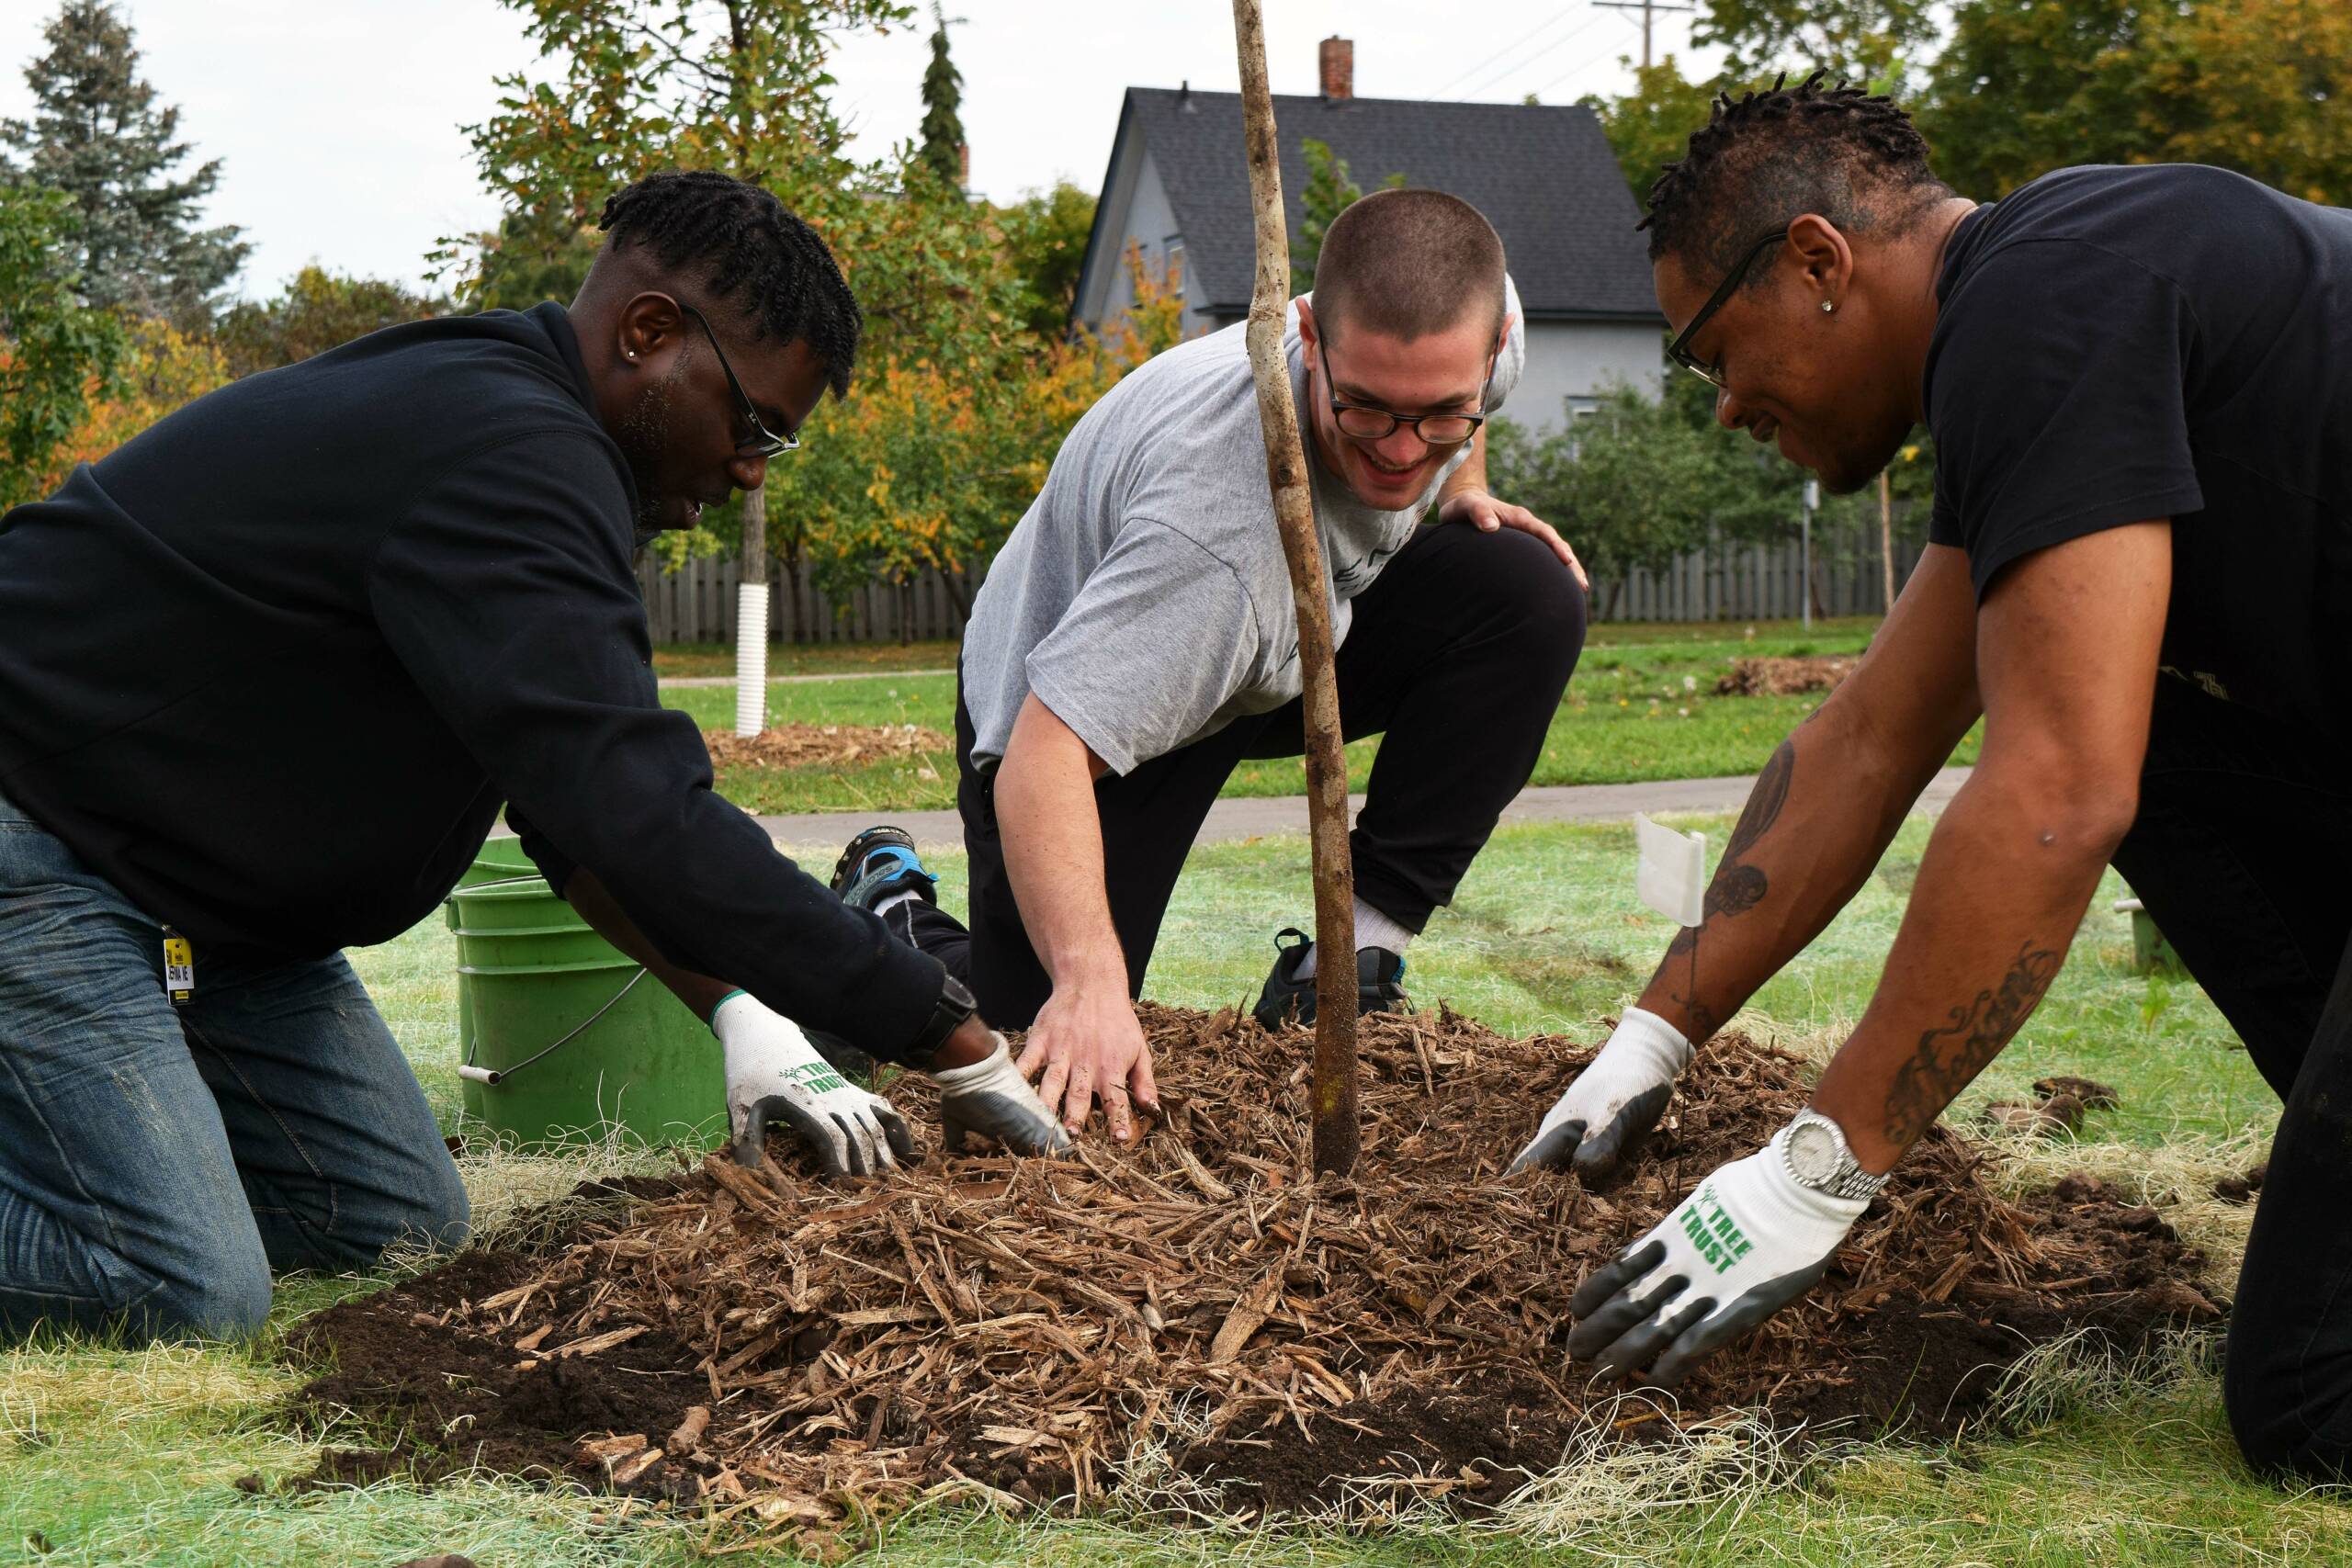 Mulch or wood chips are great at keeping moisture in, but beware of creating a mulch volcano that hugs the trunk and buries the root flare. It is important to keep the mulch away from the trunk to avoid fungus and rot, and allow the tree bark to breathe. Keeping the mulch at least three inches away from the trunk, create a donut shape of mulch that is three feet wide and at least three inches high. This will help channel the water to the tree’s roots.
Planting is a shocking experience for a tree, so frequent watering following planting is very important. Check the soil moisture with your finger every couple of days. If it’s dry, add some water from your hose on a slow trickle. You will need to keep an eye on the soil moisture over the next several growing seasons to be sure your tree is getting enough water. Three years of frequent watering will set up your tree for success.
If your tree is unstable after planting, use some staking material to provide extra support and ensure a healthy tree.
And that’s it! Your tree is planted. Congratulations!
The Best Time to Plant a Tree…
…was 20 years ago. The next best time is now. Fall and early spring are the best seasons of the year to plant. Trees need time to become established before they are subjected to a Minnesota winter. If you plant now, your tree will be set up to thrive through the next season and the seasons after that.
Now that you’re an expert, come plant trees with us!
- Volunteer at our community planting events.
- Green up your neighborhood by participating in your city tree sale in early spring.
